
It’s been almost a month since WHO announced global pandemic, how are you holding up to this new reality of stay-at-home and social distancing orders that we are living in?
My husband and I are trying our best to keep our daily lives as normal as possible while following the guidelines. We definitely spend way too much time in our flower and veggie gardens these days, it’s the only few things that make me feel like I still have in control, and it’s comforting and therapeutic to see daily growth of the plants. We also have time to finish up lots of house remodeling projects that we’ve been putting off for years (we bought all the supplies way back, and we literally had to dig them up from the garage that’s covered in dust….lol).

I also started some side projects besides making jewelry. Inspired by my aunt, she made some mask covers for us when we were visiting my family in Taiwan back in Feb, and after learning the shortage of PPE for the hospital staff in the States, I asked her for the mask cover pattern, and I started to make mask covers to send for my friends that’s working on the front line. The YouTube tutorial I have is in Mandarin, so I made a step by step tutorial in English for you, hope you might find it helpful.
I’m giving away mask cover for my online orders, one mask cover per order till supply last, and enjoy free USPS First Class Shipping : )
Here is link to the Youtube Tutorial, and the following is my step by step instructions in English ( sewing is not my strong suit, but I tried my best to explain the processes, I hope you don’t find it too confusing).
What you need:
One piece of 8” x 14” fabric of your choice.
One paper template in 3/8” x 16” for hemming
One paper template in 1” x 16” for the pocket folds, and cut out a 1/32” x 2” opening in the center of the template, it’s for you to locate the crease line.
Iron & ironing board.
Sewing machine or needle and thread.
Elastics & dryer sheet (if you want to turn the cover into a facial mask)

Step 1
Cut a piece of fabric in size 8” x 14”.

Step 2
Fold the fabric up to half and iron the crease.
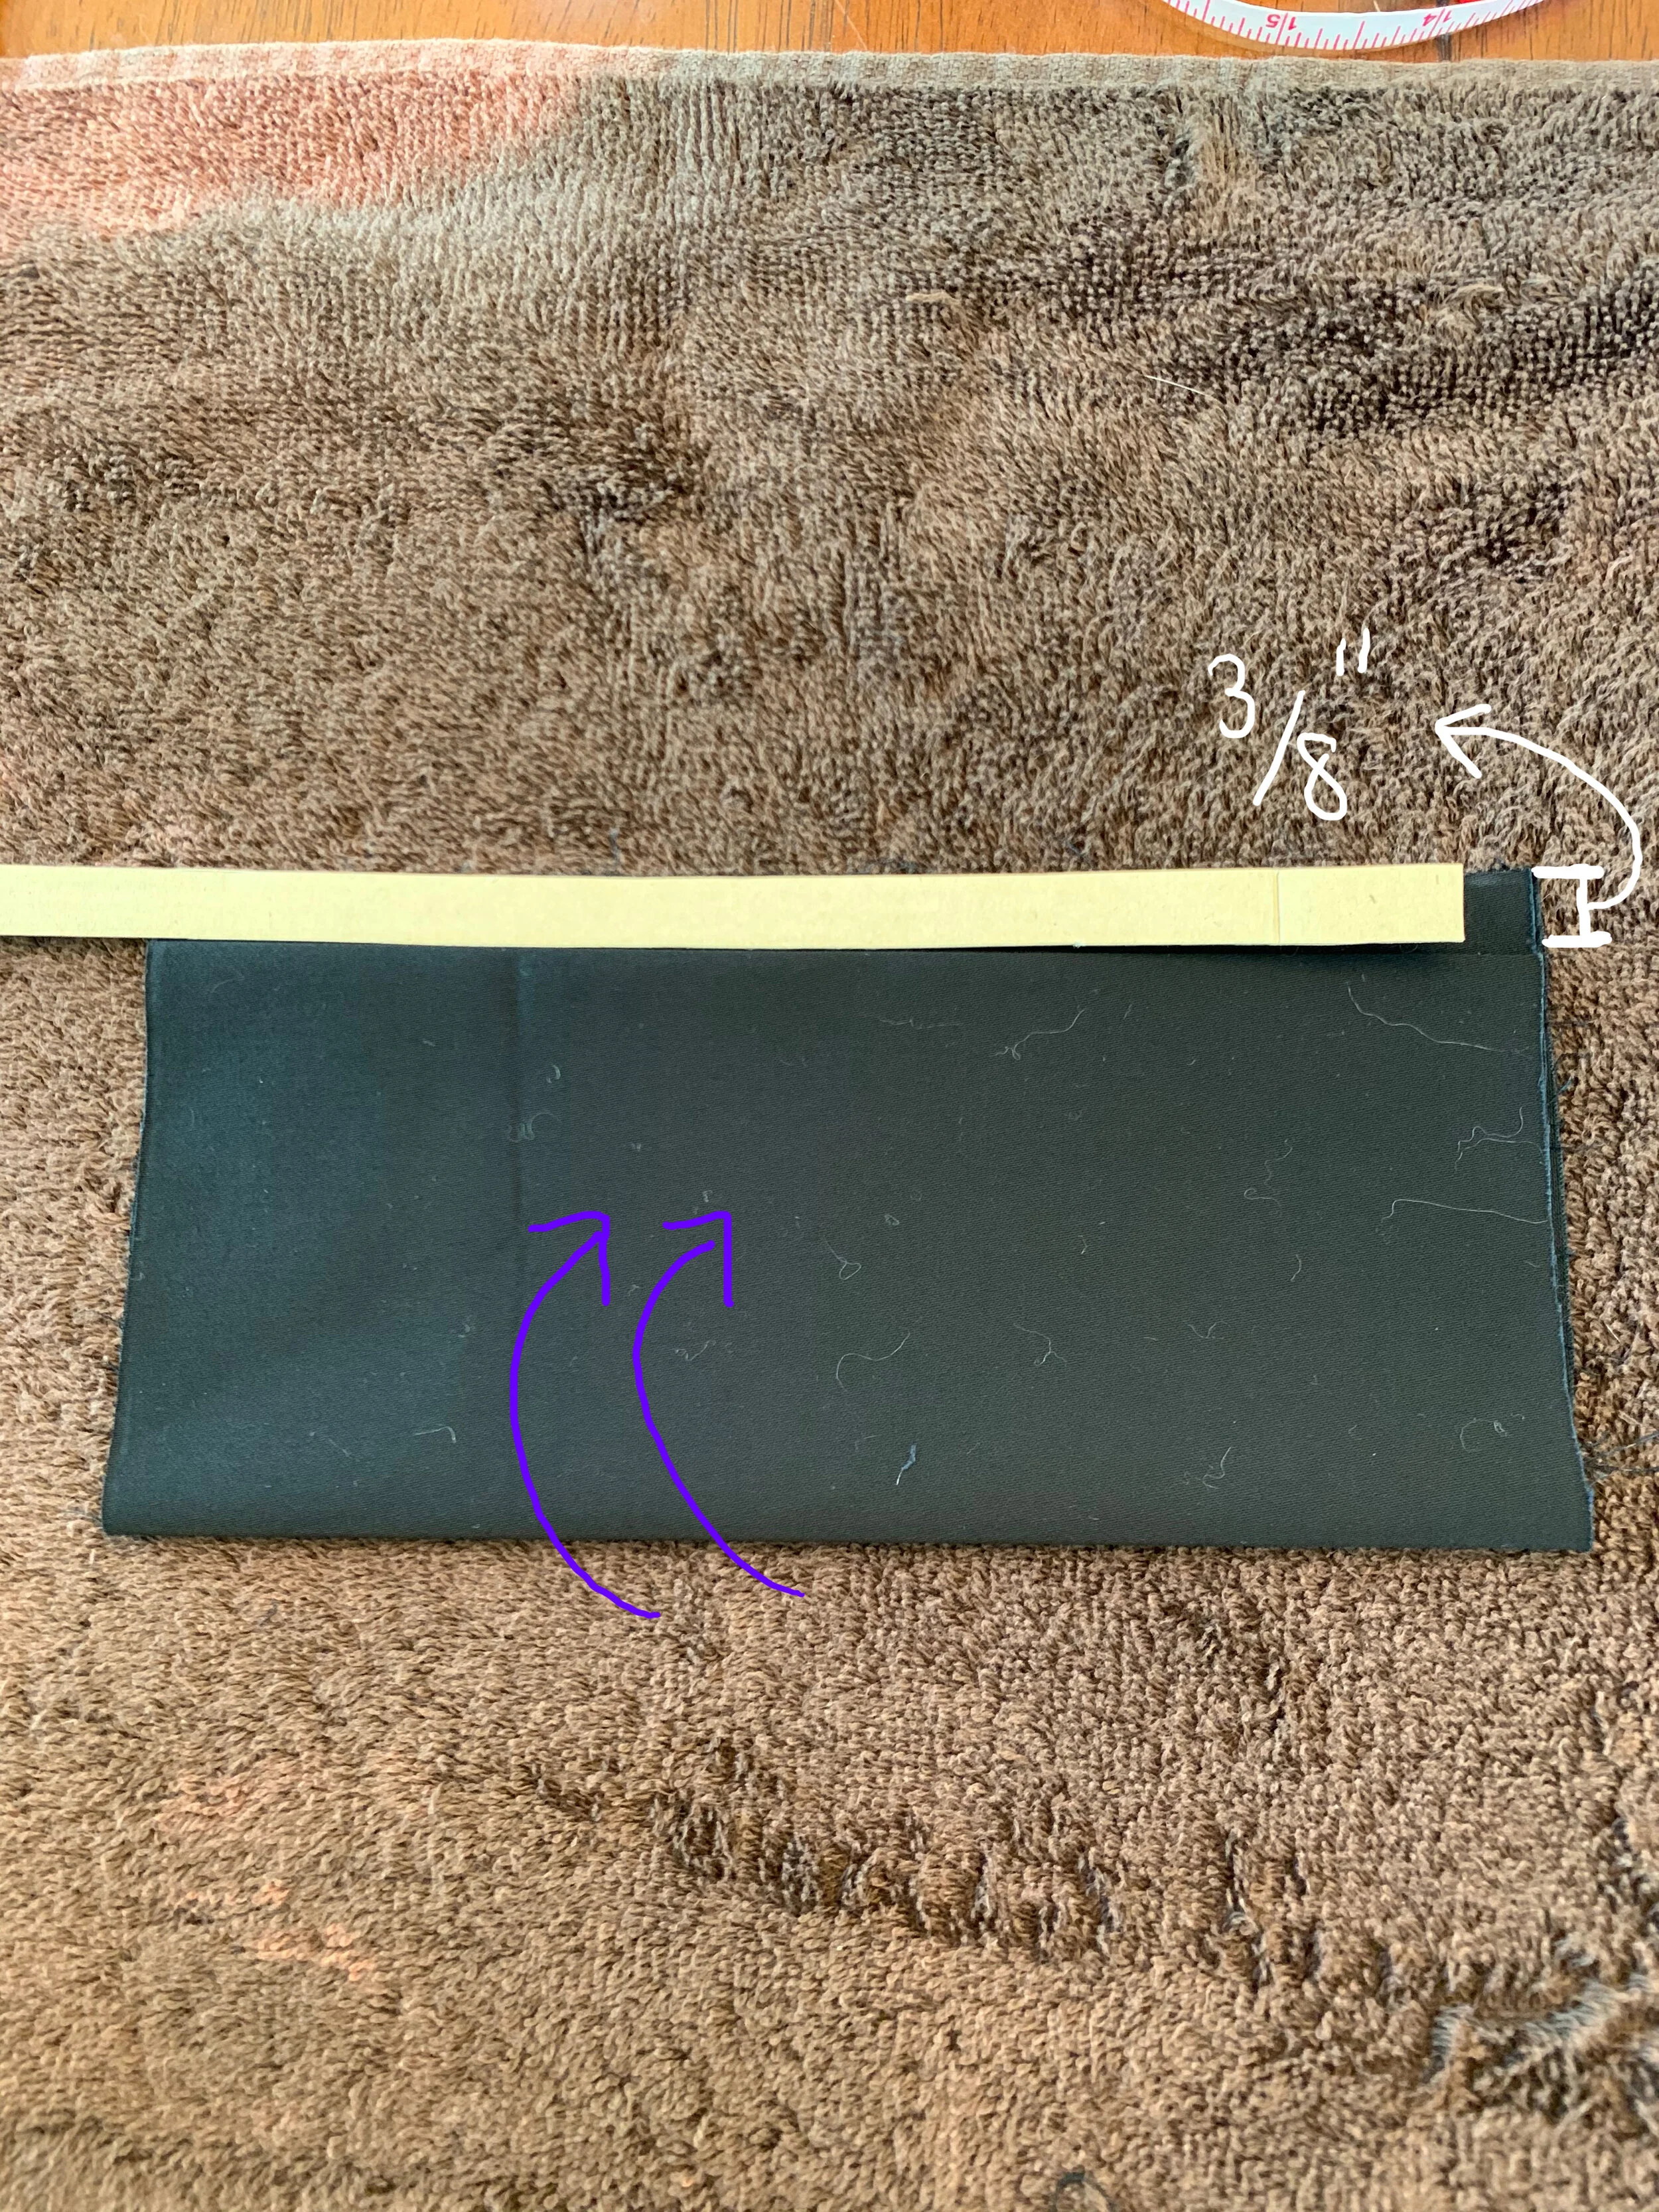
Step 3
Fold it up again, and iron the crease, but leave a 3/8” space on the top for hemming purpose.

Step 4
Grab the top fold to fold it down then iron the crease.

Step 5
Now open up the fabric and you can see all the ironed lines.

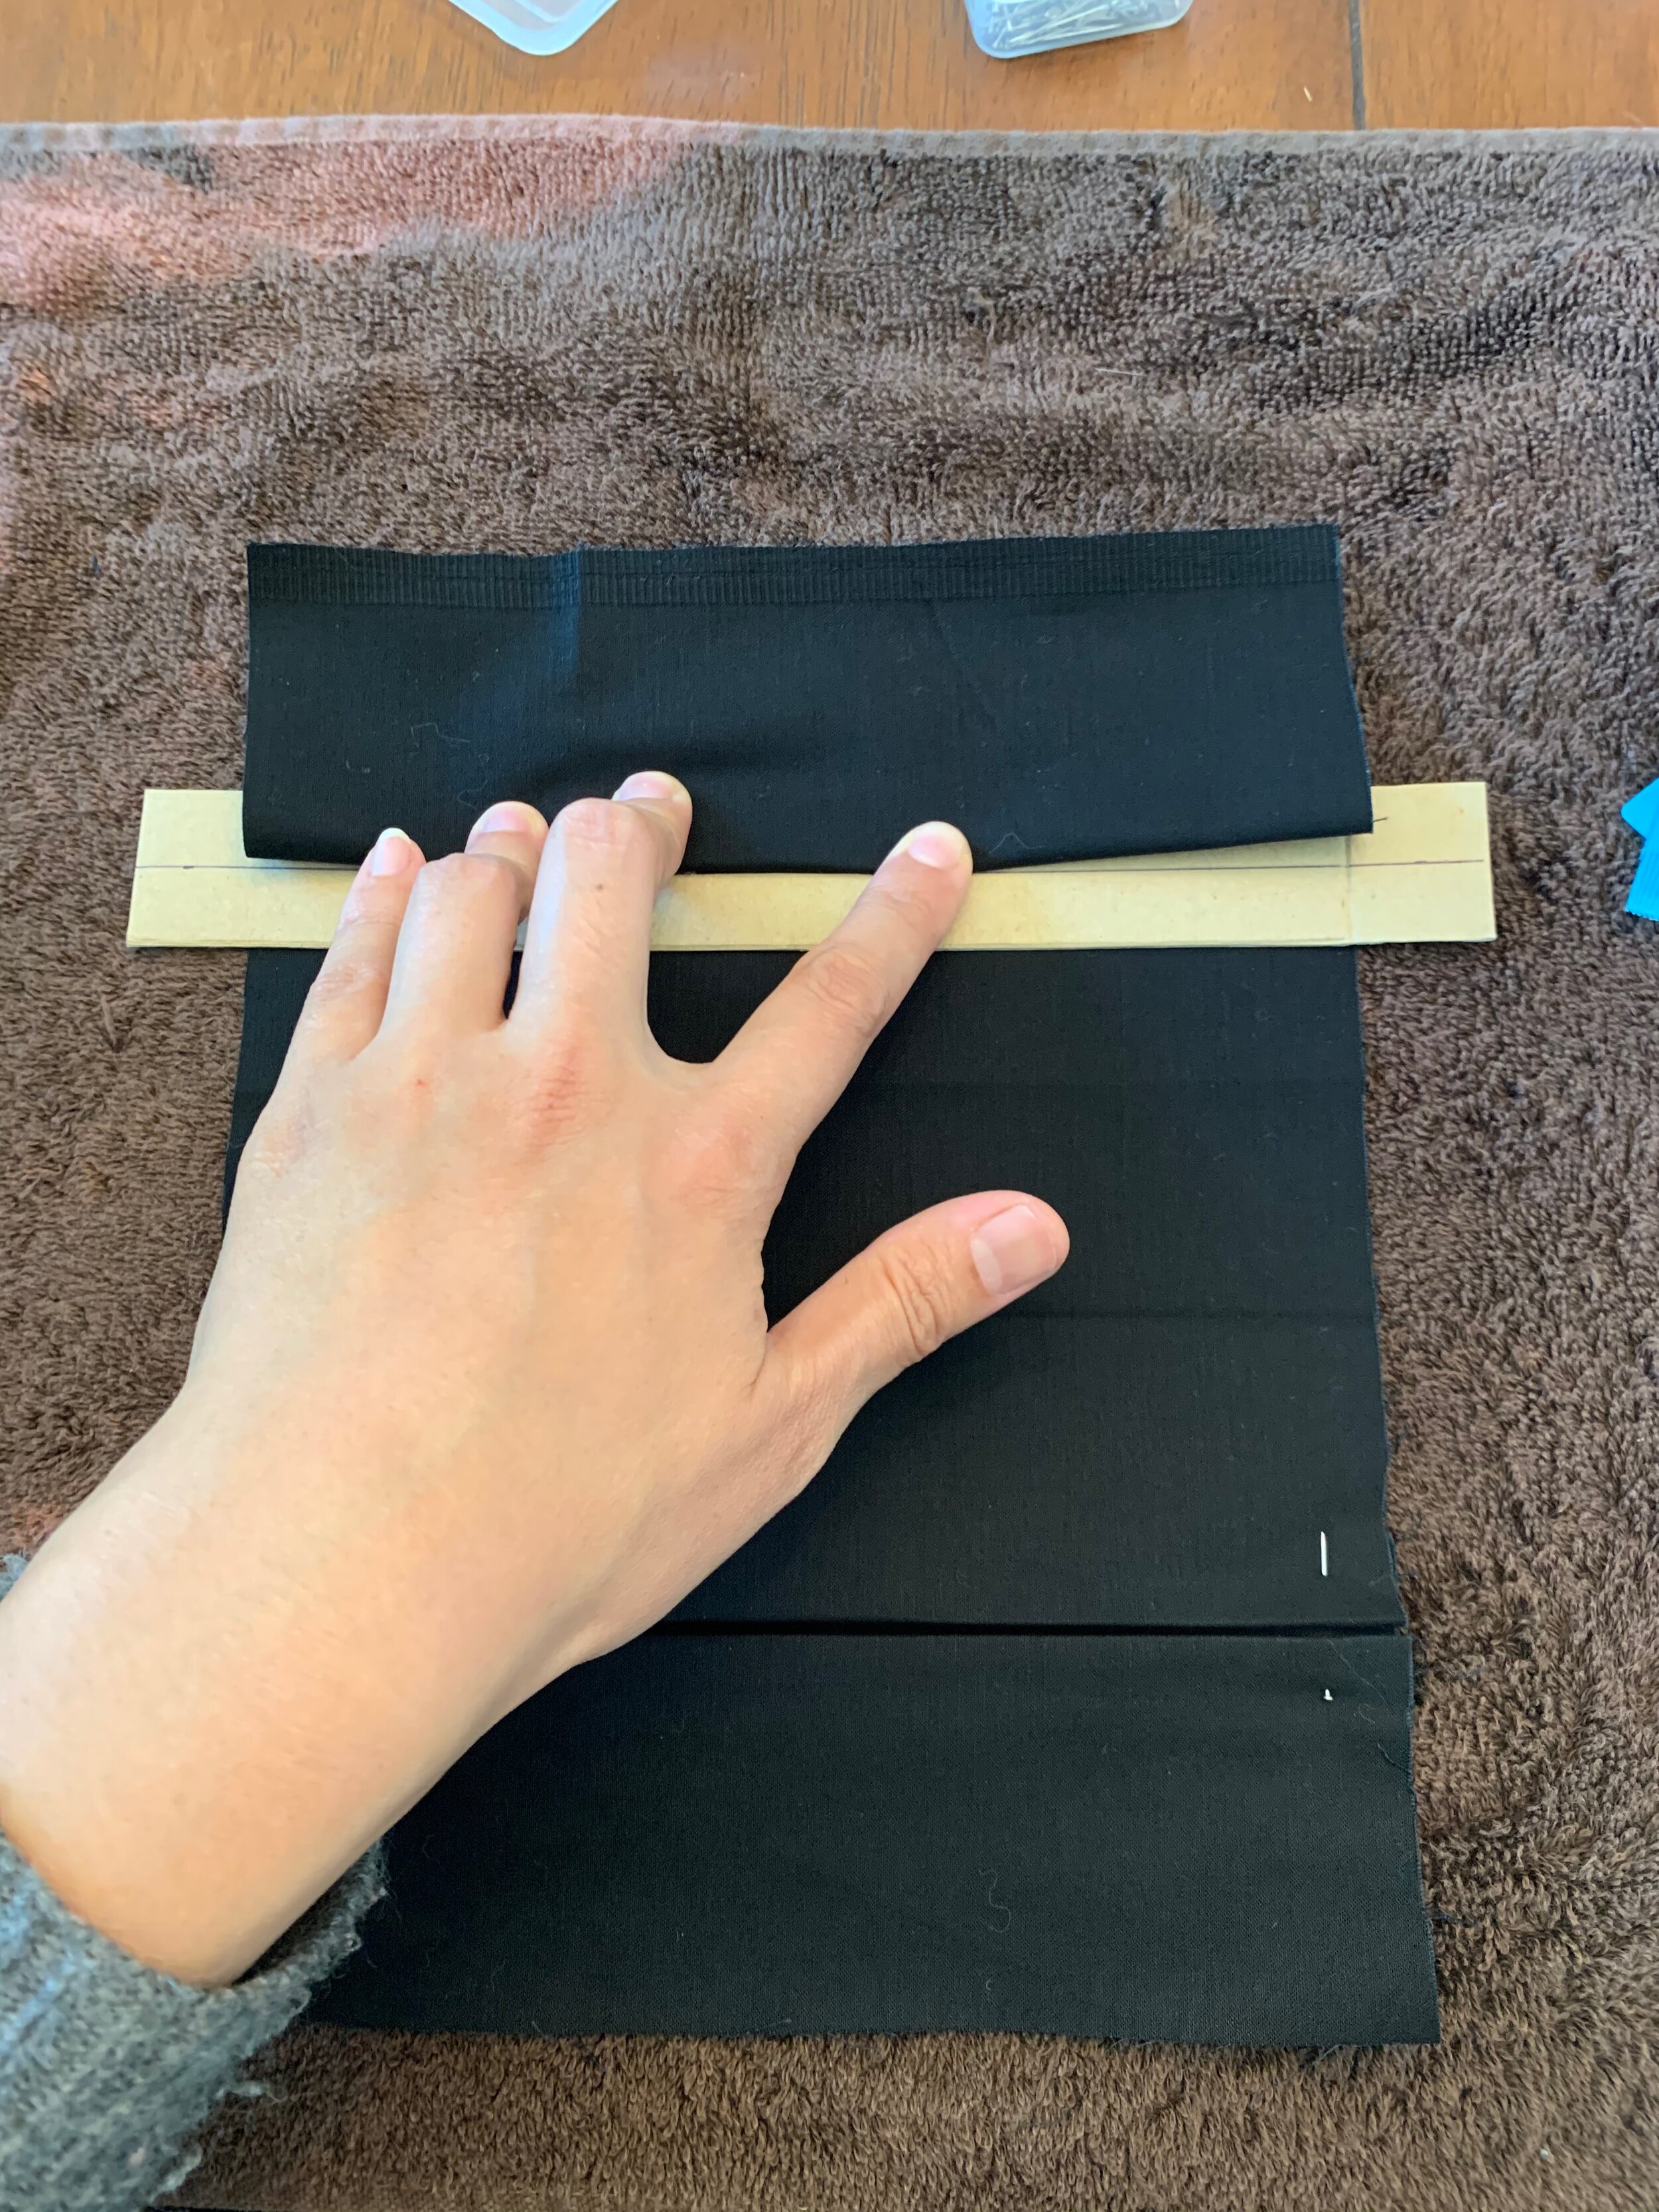
Step 6
Place the 1” x 16” template on the bottom crease line.

Step 7
This is the tricky part, grab the fabric fold it up and down, alined to the 1/2” mark and iron it. (It might be easier to watch the YouTube video for this step)

Step 8
Repeat the same for the top part, and iron the fold.

Step 9
Remove the paper template and use 2 pins or 2 small clamps to hold the pocket fold in place.
Step 10
Repeat step 8 and 9 to the top crease line.

Step 11
Secure the pocket fold with pins or small clamps.

Step 12
Stitch all four pocket folds (about 1 1/4” long) and remove all four pins.

Step 13
Use the 3/8” x 16” template again for the hems.

Step 14
Stitch hems on both sides.

Step 15
Close the mask and stitch through it with 1/4” space on the outside of the mask cover.

Step 16
Flip the mask cover inside out, and stitch another line and leave 3/8” spacing to hide the 1/4” sewing line from step 15.

You did it!
Now you can insert your surgical mask and change the cover daily to allow your surgical mask to last a bit longer than one-time use.
If you don’t have surgical mask, you can insert dryer sheet as interfacing and sew two elastics to turn the mask cover into a facial mask.